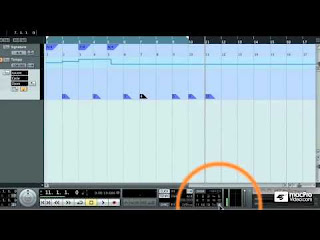
Today we are going to talk about a topic that is particularly important when mixing all songs in the same project (click here for a dedicated article), or during the mastering session, if we import all the tracks in the same mastering project: the marker track.
A marker track is a track that can hold markers, and these are used to locate specific places along the timeline of our daw project.
What does it mean?
It means, for example, that if we want to record 3 tracks in the same project we are going to add a tempo track (click here for a dedicated article), to tell the project that from a certain minute we need the metronome for example at 150, from another minute we need it at 200 and from another at 250, and then we can add a marker track to create 3 markers, one for the beginning of each song, so that we can move through them lightning fast.
So, once we have added a marker track in our project, how do we add these markers?
We set the cursor to any point we need to set a marker, and press the "add marker" button in the marker track: it will create a flag with a progressive number (1 for the first one, then 2, 3...), that we can move if we need, or rename it, for example in our case with the name of each one of the 3 songs in our project.
How do we move from one marker to another?
This varies from one daw to another: on Cubase there is a marker section in the transport bar, so we can choose them from there, in Studio One we can navigate through them with the skip controls, in other daws there is a vertical menu on the left sidebar with the list of the markers, but the concept is that somehow we have the ability of moving through them, and when we select one, the cursor will set at the marker's position.
This is very useful when mixing or mastering large projects, for example with 10 tracks, so that we can find easily the track we need, or we can use it to break down one single song among verse, bridge, chorus etc.
Become fan of this blog on Facebook! Share it and contact us to collaborate!!


No comments:
Post a Comment